Attachments on “Power App Portals” for Anonymous Users
March 25, 2020 Leave a comment
Power Apps makers can create external-facing websites that allow users outside their organizations to sign in with a wide variety of identities, create and view data in Common Data Service, or even browse content anonymously through “Power App Portals” .
Recently I had a question from a colleague, to enable attachments for Anonymous users through Portals , then I thought it is worth doing a blog to help anybody looking. With MS Forms we can do attachments through file upload but it doesn’t work for Anonymous users.
I am going create a trial environment for creating Power App Portal, and an Entity in CDS to store data for the App, will go on configuration of Form and permissions to have the attachment to show up on Portal for the Anonymous user.
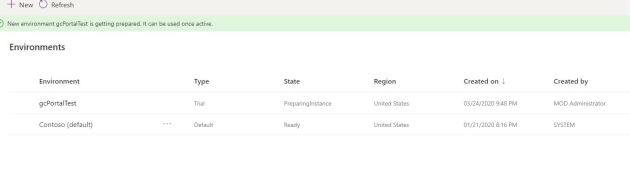
Creating a Trial Environment (https://admin.powerplatform.microsoft.com/environments)-

Then we can see all the Environments in our Tenant-
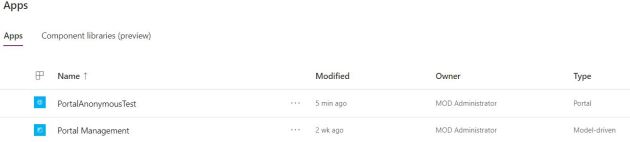
To Create Portal App we have to switch to the Trial environment that just created, after that go to Apps and should pick the “Portal from blank” option to create new Portal App.

We can create only one Portal App for an Environment, and usually it takes few minutes to finish creating.


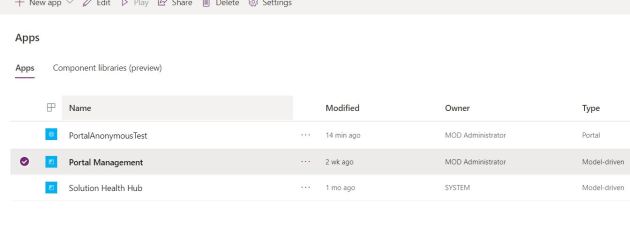
After Provisioning you can see Portal App in this scenario “PortalAnonymousTest” .
The Portal Management app allows you perform advanced configuration actions on your portal. The app is available after the database on Common Data Service is created successfully.
Through the Portal Management we can configure our Portal App.
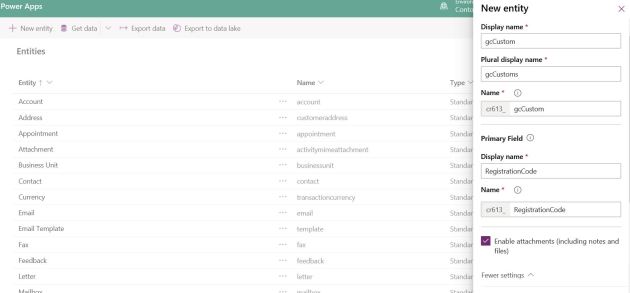
Before configuring further we create a Custom Entity “gcCustom” that will be used in the Portal App to store user data.
For Attachments on Portal to work, we need to make sure check the “Enable attachments” option on the New entity screen.

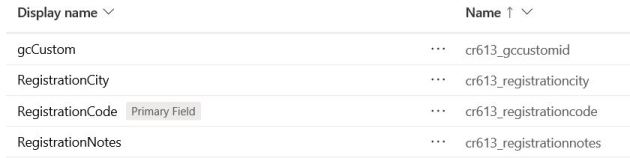
Just to have some meaningful data created few Custom Fields in “gcCustom”
To the use the Model driven form of this Entity in Portal App, either we can create new form or customize the existing form for this Entity. In this case I wanted to use the out of the box Main form.
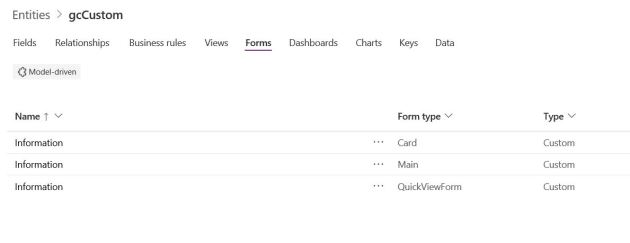

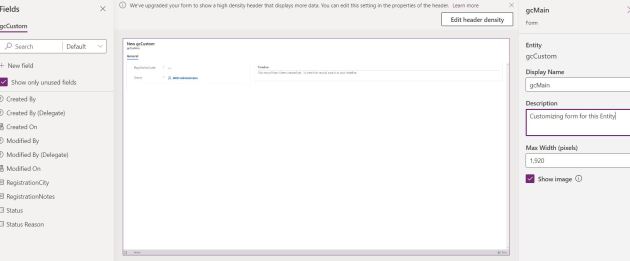
Edit the form and we add custom fields to the form, just changed name of Form to “gcMain”
It is a good idea to check the Notes Properties under “Time line” section by switching to classic view of the Form.
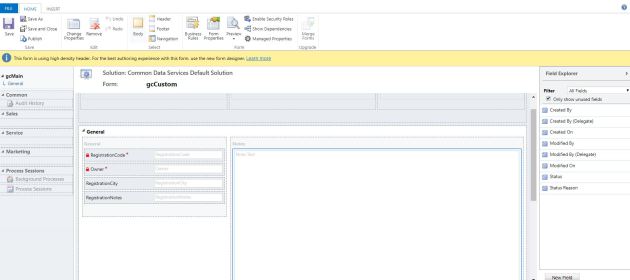
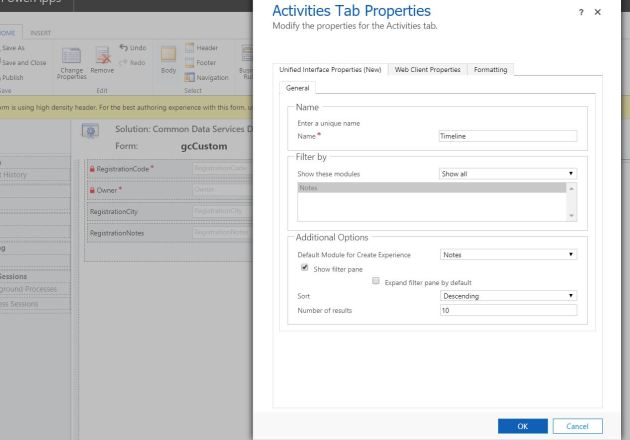
Select the Notes Control and Click “Change Properties” from the tool bar, just to make sure we have “Notes” selected in Additional Options.
If you created a custom form and added the notes section to it, be sure to select Notes as the default tab you want to be visible.
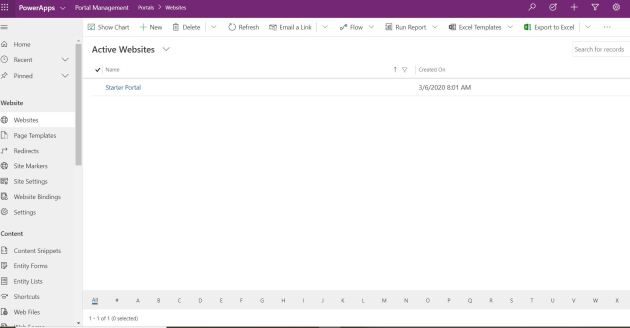
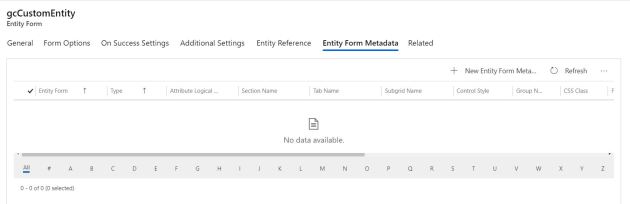
With this now we can go back to the Portal App Configuration and Click on Portal Management for configuring Entity Form and additional options.
When you click on the Portal Management you will be opening below-
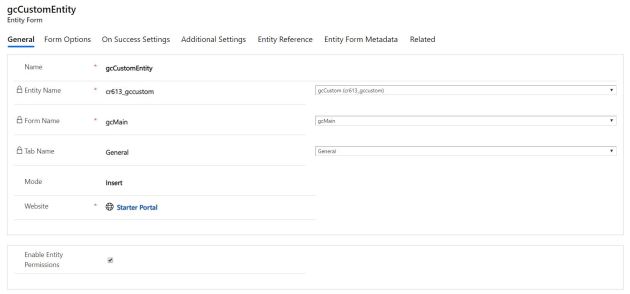
Go to “Entity Forms” and Create one for the Entity “gcCustom” and use the re-named form “gcMain” (On CDS – Entity). As we are allowing only Insert and upload attachment pick mode as “Insert”
Make sure check “Enable Entity Permissions”
Explicit Entity Permissions are required for any notes to appear on the portal. For read and edit, the Read and Write privileges must be granted. For create, two permissions must exist: a permission with the Create and Append privileges must be granted for the note (annotation) entity, the second permission must be assigned to the entity type the note is being attached to with the Append To privilege granted.
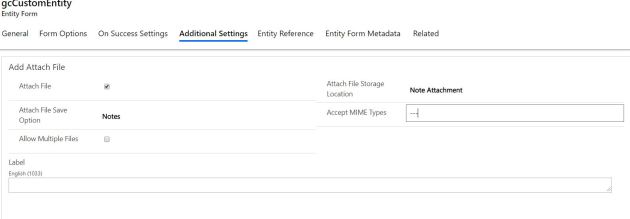
Next go to “Additional Settings” and scroll down below to “Add Attach File” section to check all the following options.
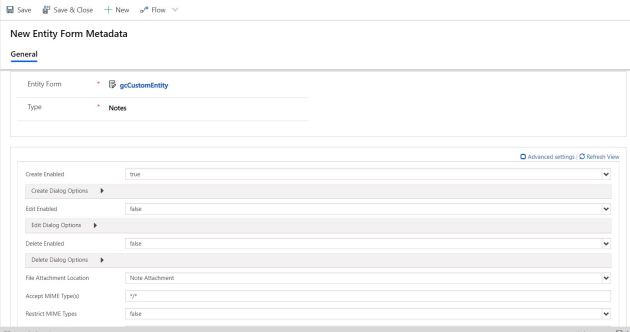
Next create “New Entity Form Metadata”
In this step create Entity Form Metadata with Type “Notes” and minimum Create Enabled “True” and in Create Dialog Options have Display Attach file (Enables a file upload field in the Add Note dialog box, allowing a user to attach a file to a note.) as “true”.
Now we have Entity Form configuration ready with all options, the Note control will be rendered by using the appropriate options enabled on the portal.
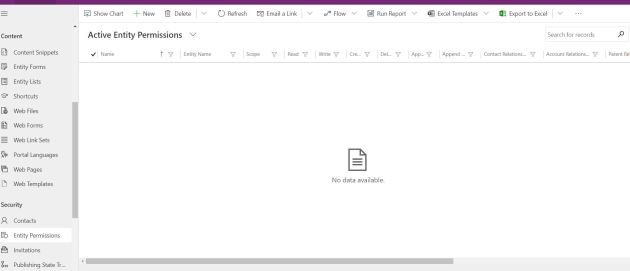
Now we need to make sure that Anonymous user role has appropriate permission.
Go to Security – Entity Permissions on the Portal Configuration and create Entity permissions on custom Entity “gcCustom” and also Annotations (Notes) Entity that comes out of the box.
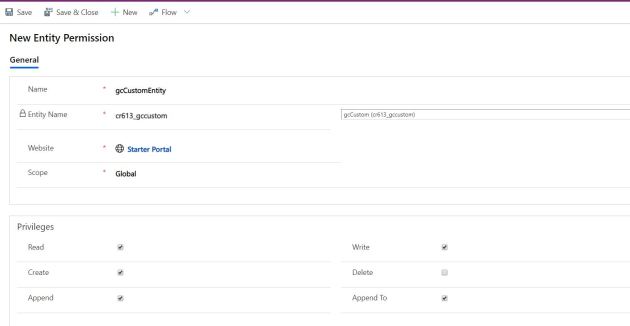
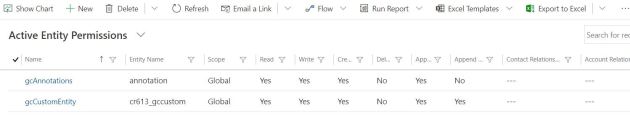
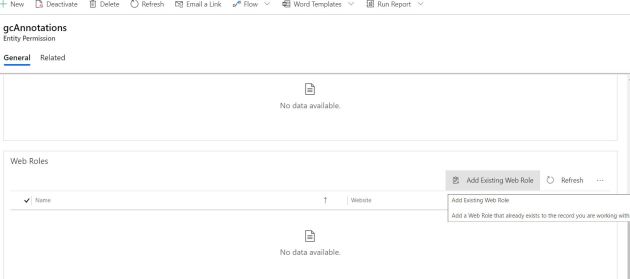
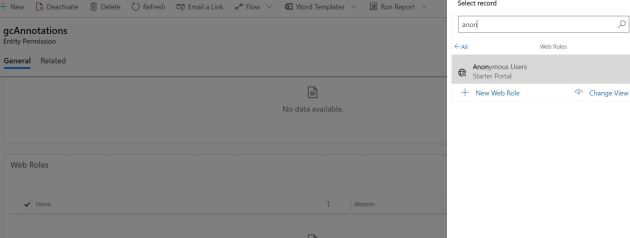
Add Existing Web Role – “Anonymous Users”to both the Entity Permissions created above.
This will completes the minimum required configuration on the Portal Management.
Go to back to App Section and click on Edit the Portal App
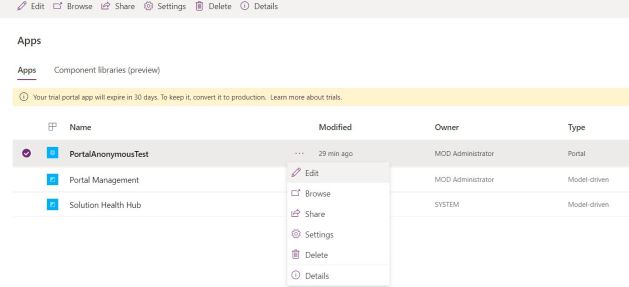
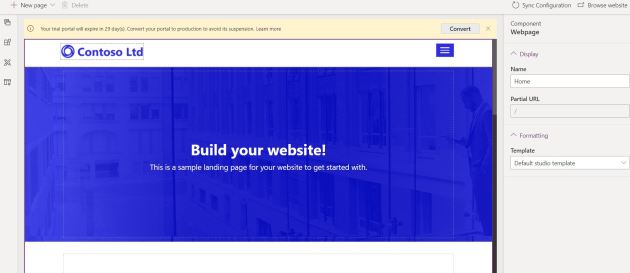
This will open Portal App in Edit Mode and to make easy leave the home as is and create new Page to add the new form.
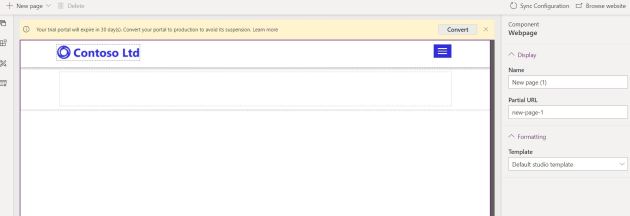
Created new Page to host the Model driven form
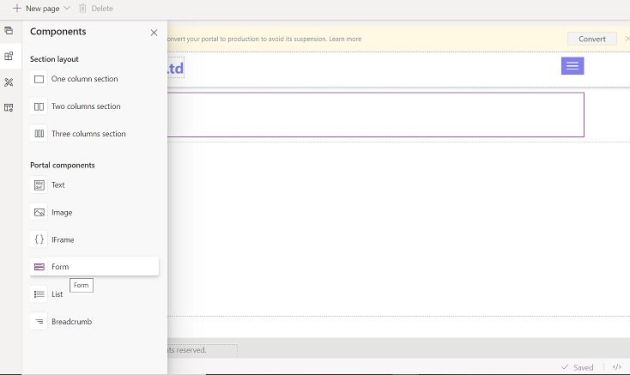
Add form Control on to the newly created Page
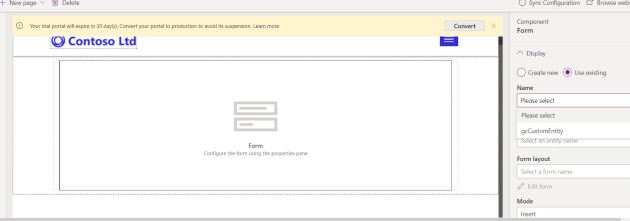
We can use the existing form that created from the Portal Configuration
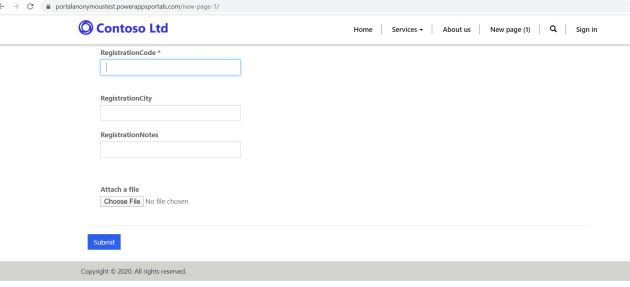
if we click the “Browse Website” this page will be redirected on Web browser – (Some times the configuration change will get updated on browsing, if you will the cache is not clearing or changes not propagating click on Sys Configuration)
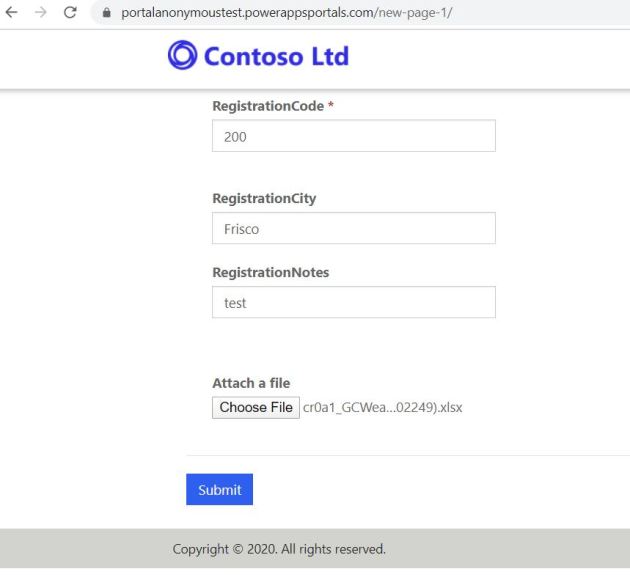
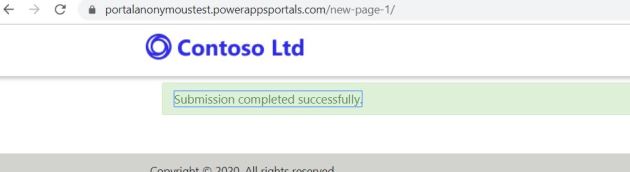
Click “Submit” you see the record and attachment saved successfully.
Finally if you want to see if the record saved you can go the CDS – Entity (gcCustom) – Data

The above steps will help you to create a Power App Portal for Anonymous users to upload attachments.
PS – I would like to give credit to Yogesh Gupt for few links and tips.
